How to Refinish a Wooden Dining Room Table
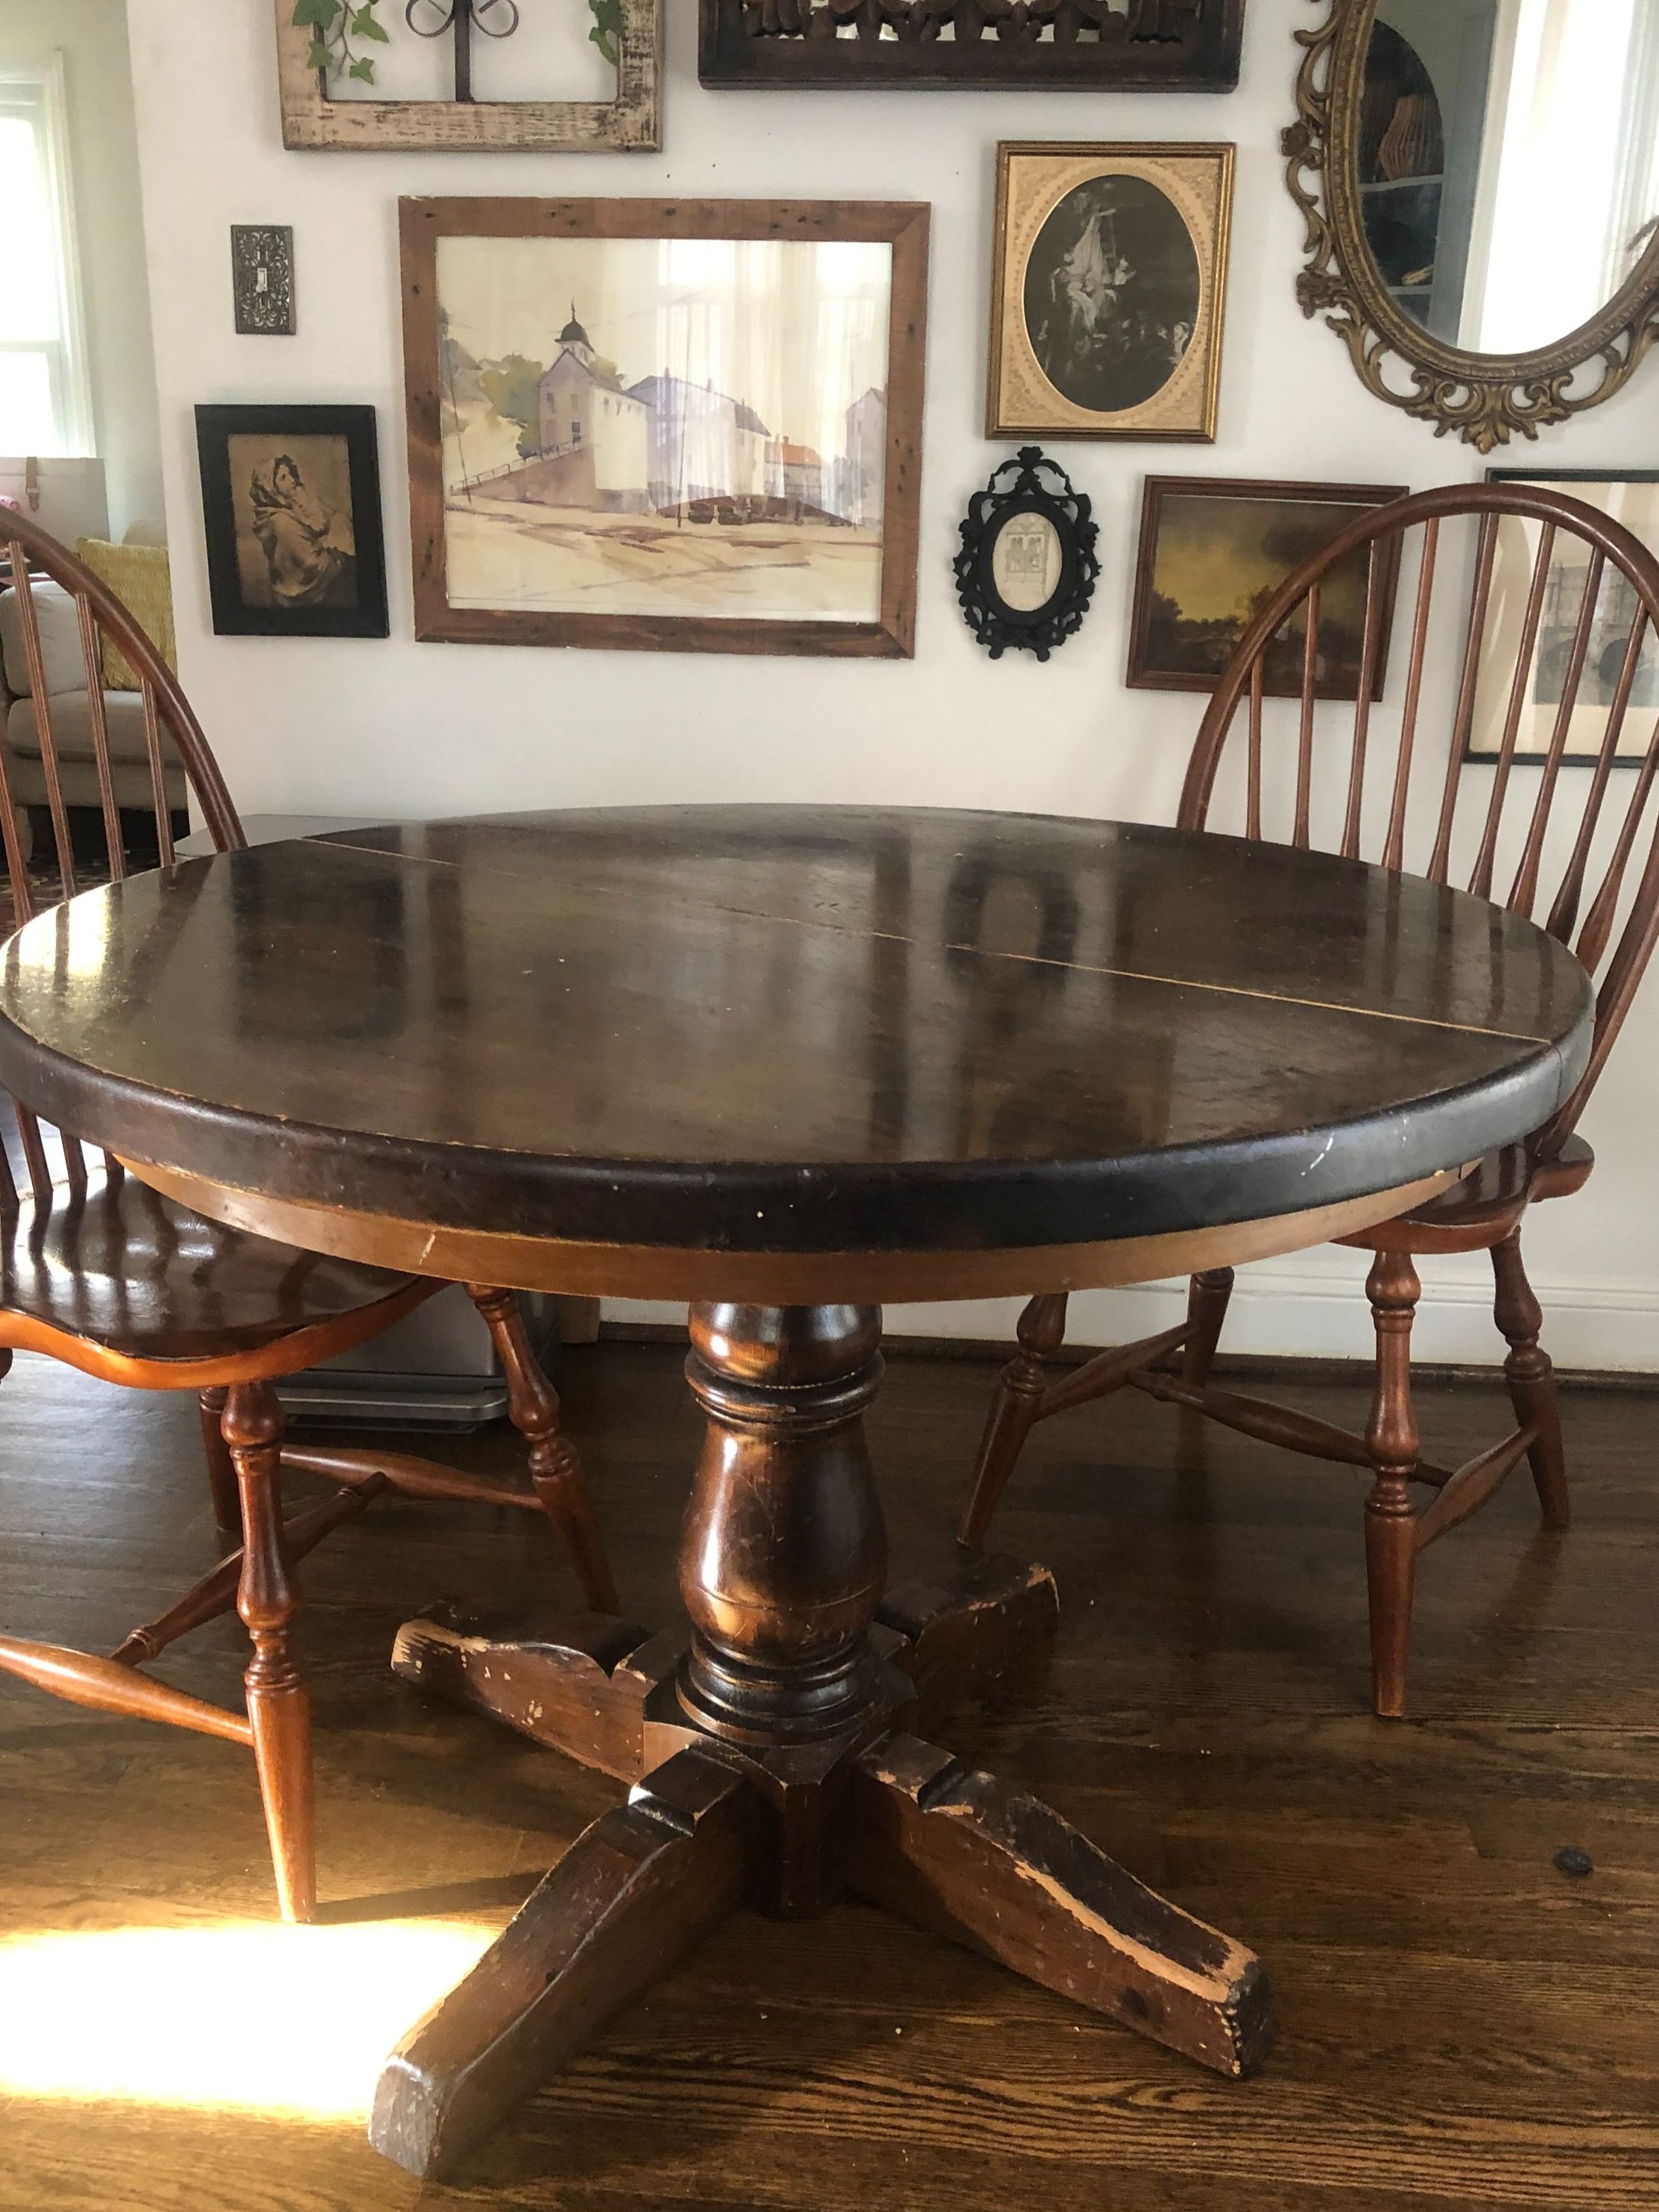
I inherited a round solid wood table from my grandmother. The stain was as dark as ever with a heavy glossy varnish. This table was well loved. It was chipped in areas and in need of a makeover. I had no idea how difficult the varnish would be to remove. But, as a very determined pregnant lady, I was up for the adventure. And I learned a lot.
Here in this blog post, I will teach you what you need to know about refinishing your dining room table, take it from my experience…some popular methods might not work for you.
Methods for Refinishing a Dining Room Table
Let me save you some trouble, if you have a table like I had, with a HEAVY glossy sheen on it, there are some methods that will not work. Read more to learn about the different methods for refinishing your dining room table.
This blog post contains affiliate links, when you shop the link, I receive commission. Thank you for your support!
Popular Method 1: Citristrip
To do this method, layer Citristrip on thick and then cover the table with saran wrap, wait 24 hours. The saran wrap will keep the table from drying out and afterwards, it should strip very easily with a plastic scraper.
This method is good for removing paint and stain, they claim it is good at removing varnish, perhaps some but not mine. I tried Citristrip. For this table, it did nothing, literally NOTHING. It could not cut through the heavy gloss. Maybe it is the kind of gloss used on old tables, but my recommendation is look the other direction if you have a high glossy table.
Popular Method 2: Easy-Off Oven Cleaner
To do the oven cleaner method, spray Easy-Off Oven Cleaner (Low Odor if you prefer) to cover the wooden surface. Leave it on for 20 minutes. Then, scrub with a scrub brush using warm water and dish soap. After it is all soapy, rinse it off with a hose, leave the wooden project in the sun to dry for 1-2 days. As it dries you will see the wood change color. You may begin to notice some difference immediately, but just wait, the next day you will be amazed! It makes the wood look light, old and rustic.
I tried the oven cleaner method in hopes for the amazing results I see on Pinterest. Sadly, it also did not work. It worked a little on the base of the table because that part did not have high gloss on it.
If you have never heard of the oven cleaner method, bookmark it for a wooden project in the future! The results are GORGEOUS. I have an exciting project coming soon where I try this method! Stay tuned!
Popular Method 3: Sanding
Unfortunately, after discovering nothing changed on my table with these two popular methods, I knew it was time for the only tried and true way to remove stain and cut through thick varnish. Sanding. Hard-core sanding the entire table.
I used my Dewalt Orbital Sander with 80 Grit Sandpaper. For the more detailed curves in the base, I used a sanding block and folded sandpaper to get in the creases.
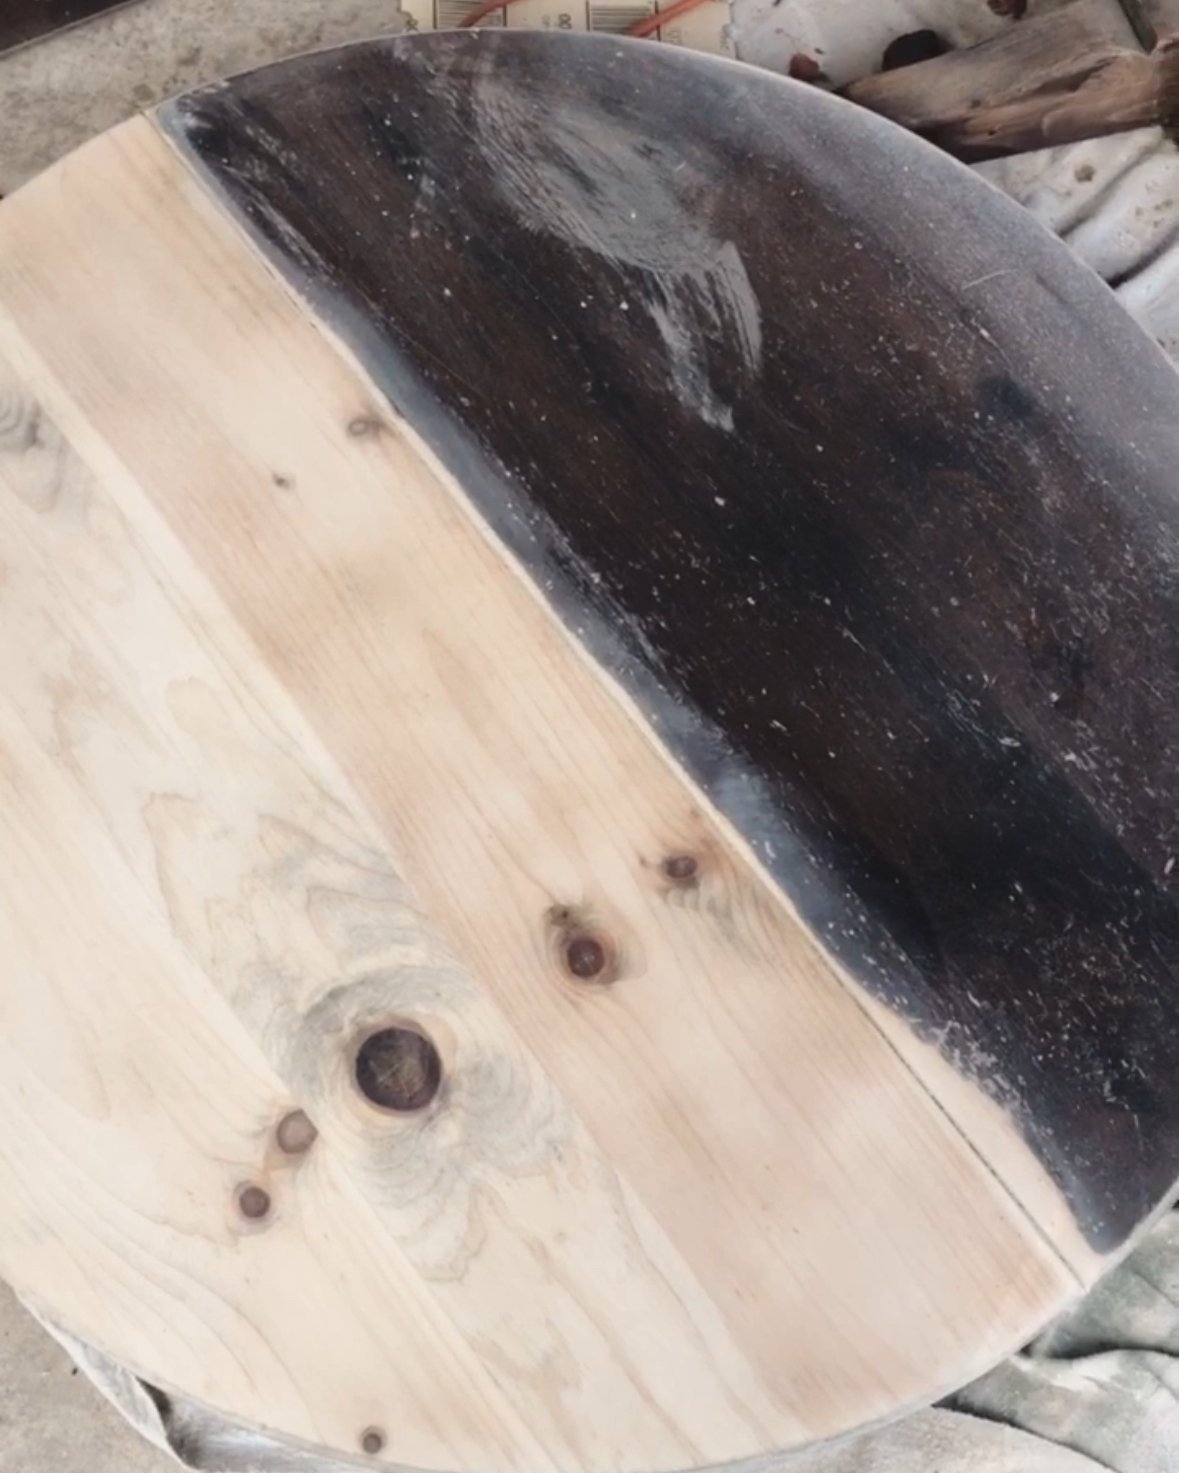
This process took me a few days. Mind you, I did have a toddler and was pregnant at the time. But, look at how beautiful the wood was underneath that pesky varnish and dark stain!
I was obsessed with the raw wood look pictured below and was tempted to leave it this way. This is totally possible, but the table would still need to be sealed to protect the wood. If this is your look, just put skip staining and put Polyurethane or Polycrylic right on(more on the difference between these two below).
Staining and Sealing the Table
Now that the varnish and original stain have been removed, the wood is is ready for stain. It is recommended to sand your table lightly with 220 Grit Sandpaper or sanding block before staining. If you have never stained before, it can seem like an intimidating process, but let me assure you, it is not! There are many things you can do to manipulate the tone of the stain, making it darker or lighter. It is a process that works in layers. You simply paint the stain on and with a rag, wipe it off. The longer you leave stain on wood before wiping it off, the darker the stain will be. The more times you repeat this process, the darker the stain will become. The recommendation is leaving it on for 5 minutes or more, but for my table, I wanted the stain to be very light so I chose to wipe it off immediately.
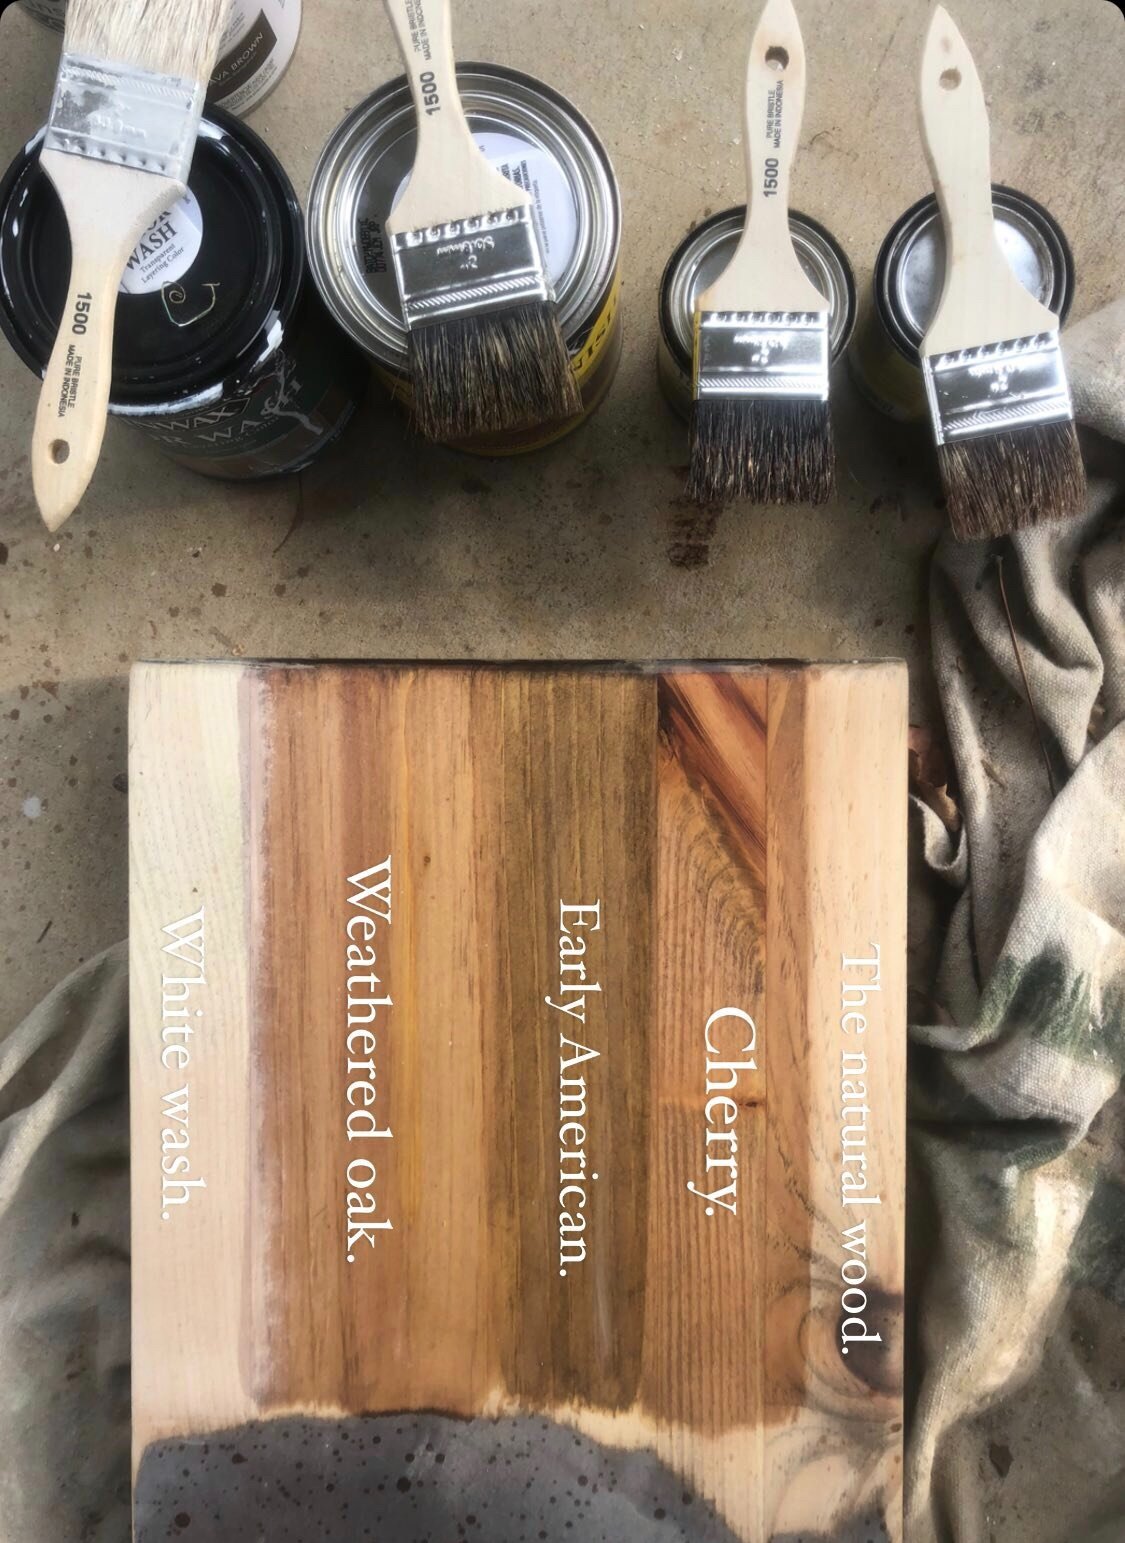
I sampled a few stains and used some of what I had on hand but I didn’t love any of them by themselves. So, I decided to do a blend method. First, I did a light coat of Minewax “Weathered Oak”. For me, this stain was too gray on its own but a quick wipe on and wipe off darkened some of the woodgrain without making the table too gray.
Next, I added some Varathane Cherry Stain. I wanted to keep my table light so I did not leave any of the stain on for the recommended time, again I immediately wiped the cherry stain off.
I was literally, painting it one with a brush and wiping it off with a rag right after. This created a very light stain that I was able to get the table exactly where I wanted without it getting too dark.
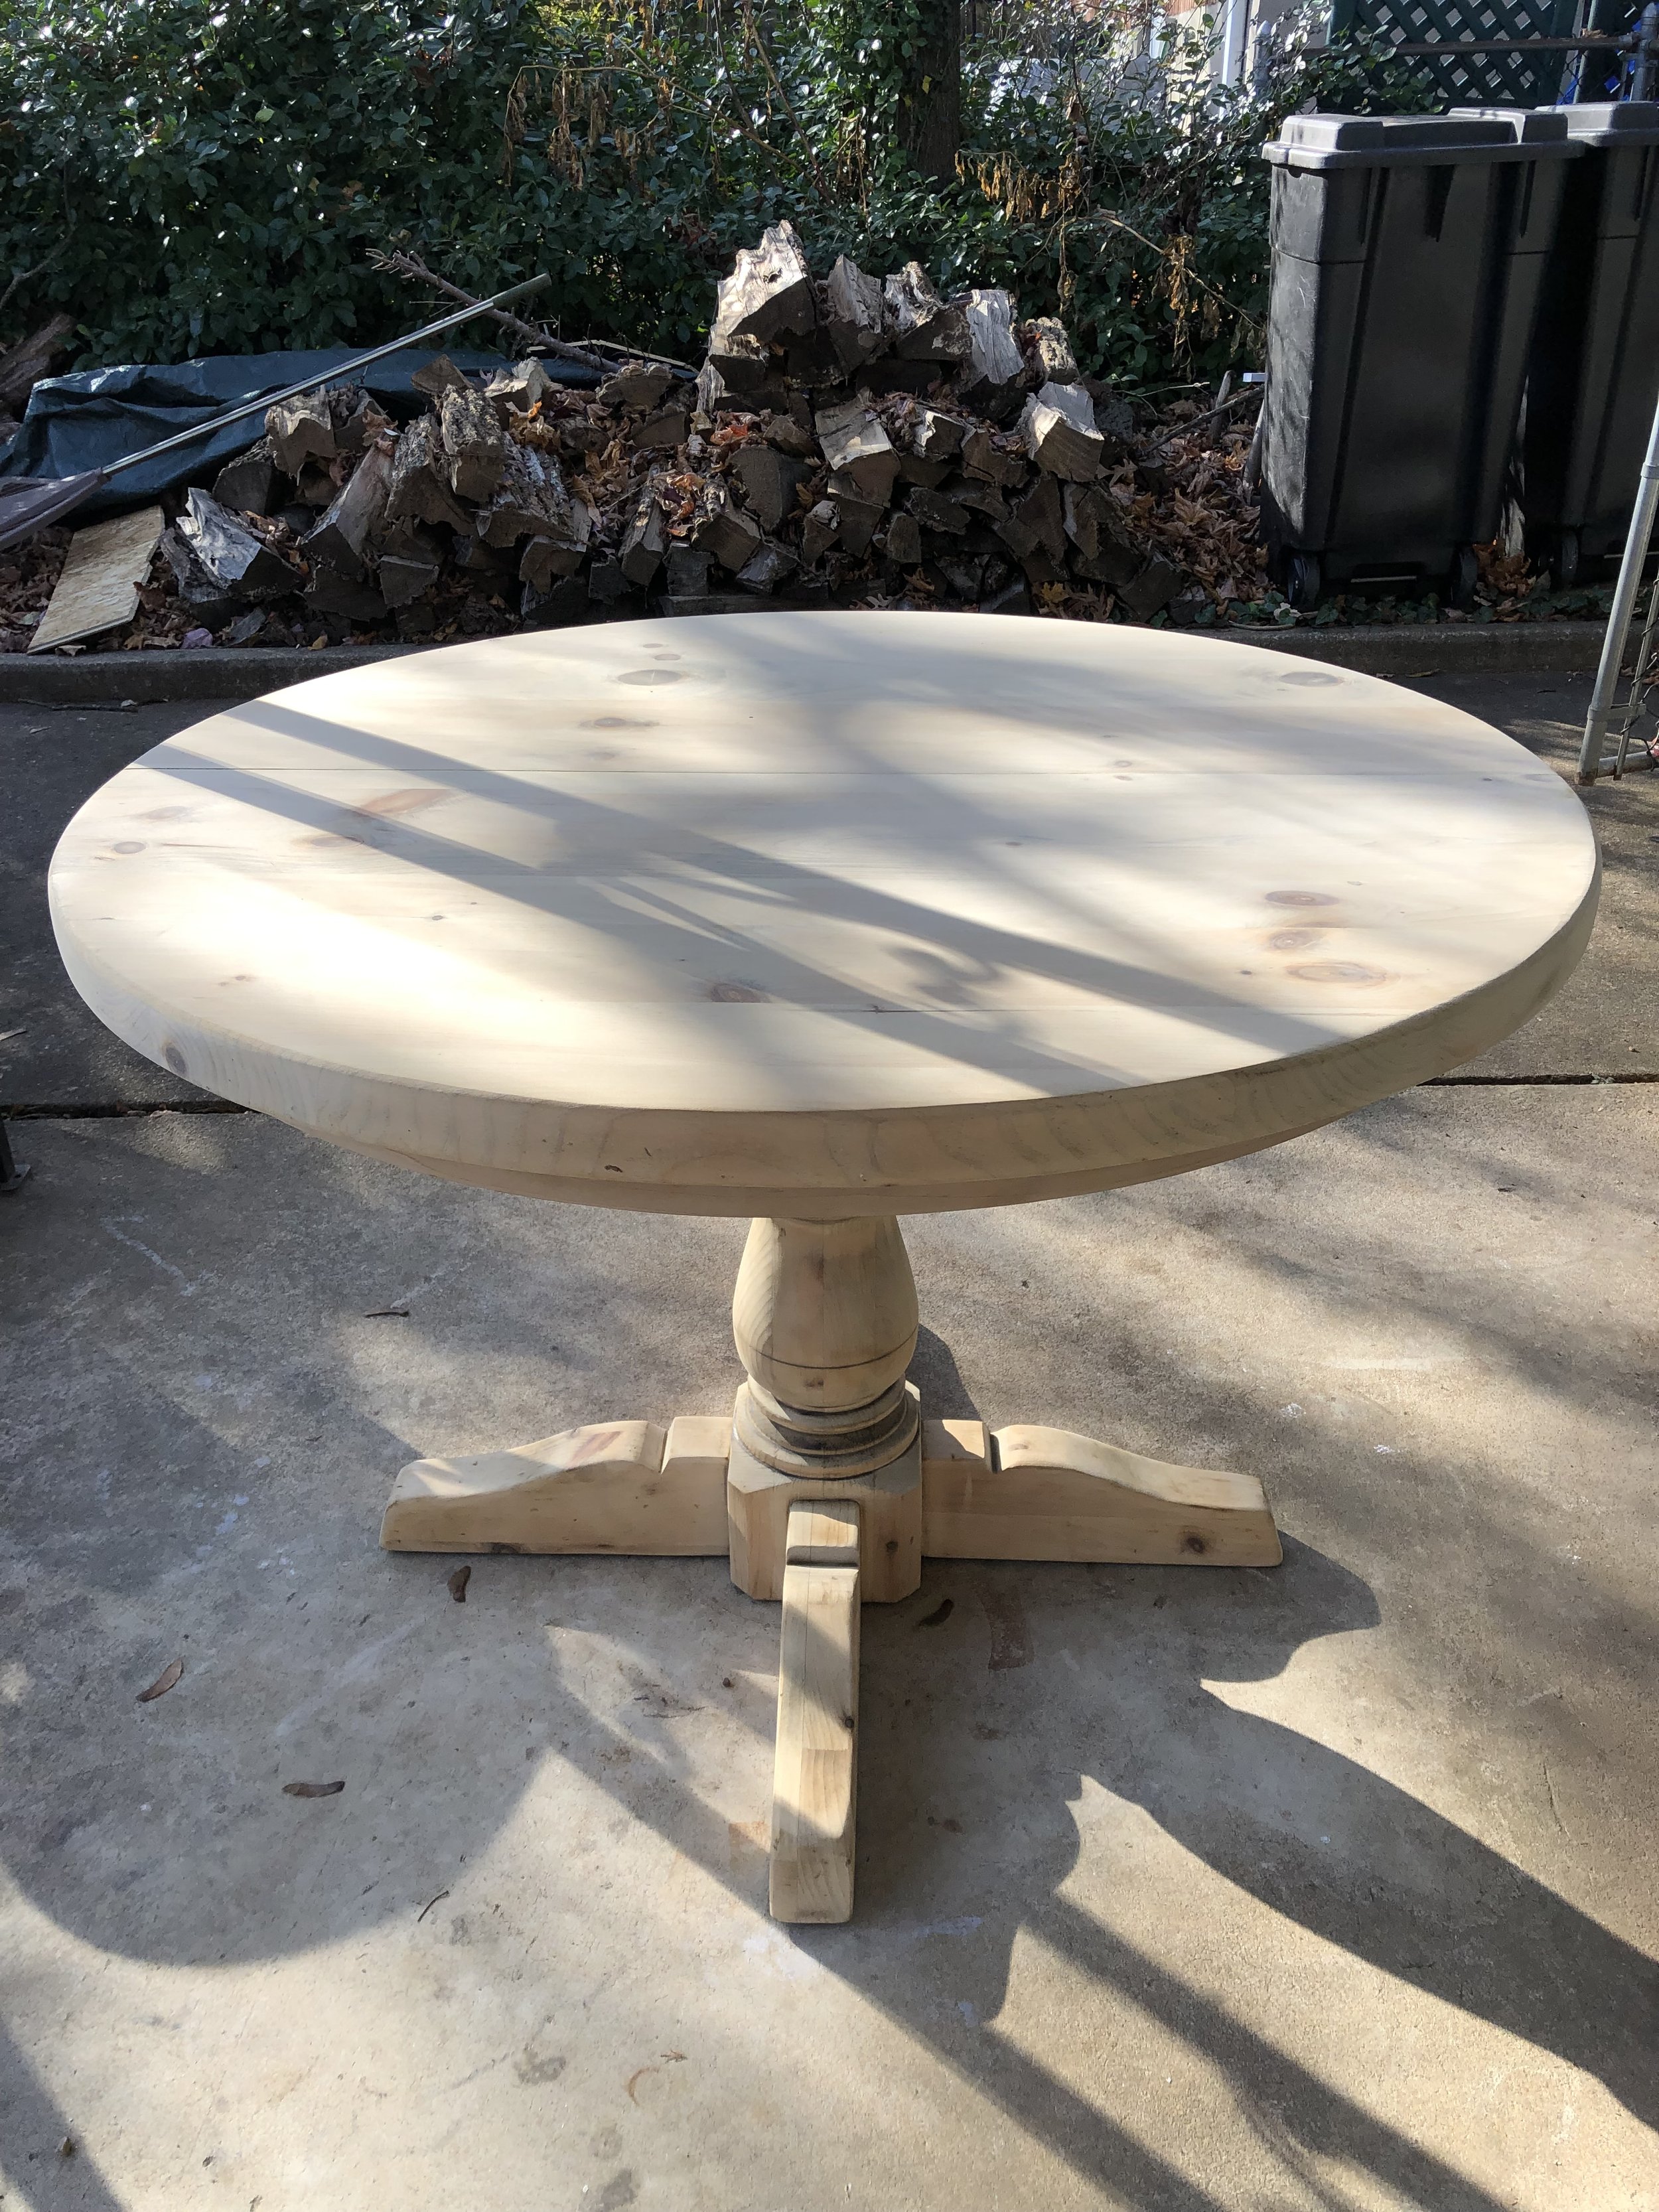
After staining, this was the result:
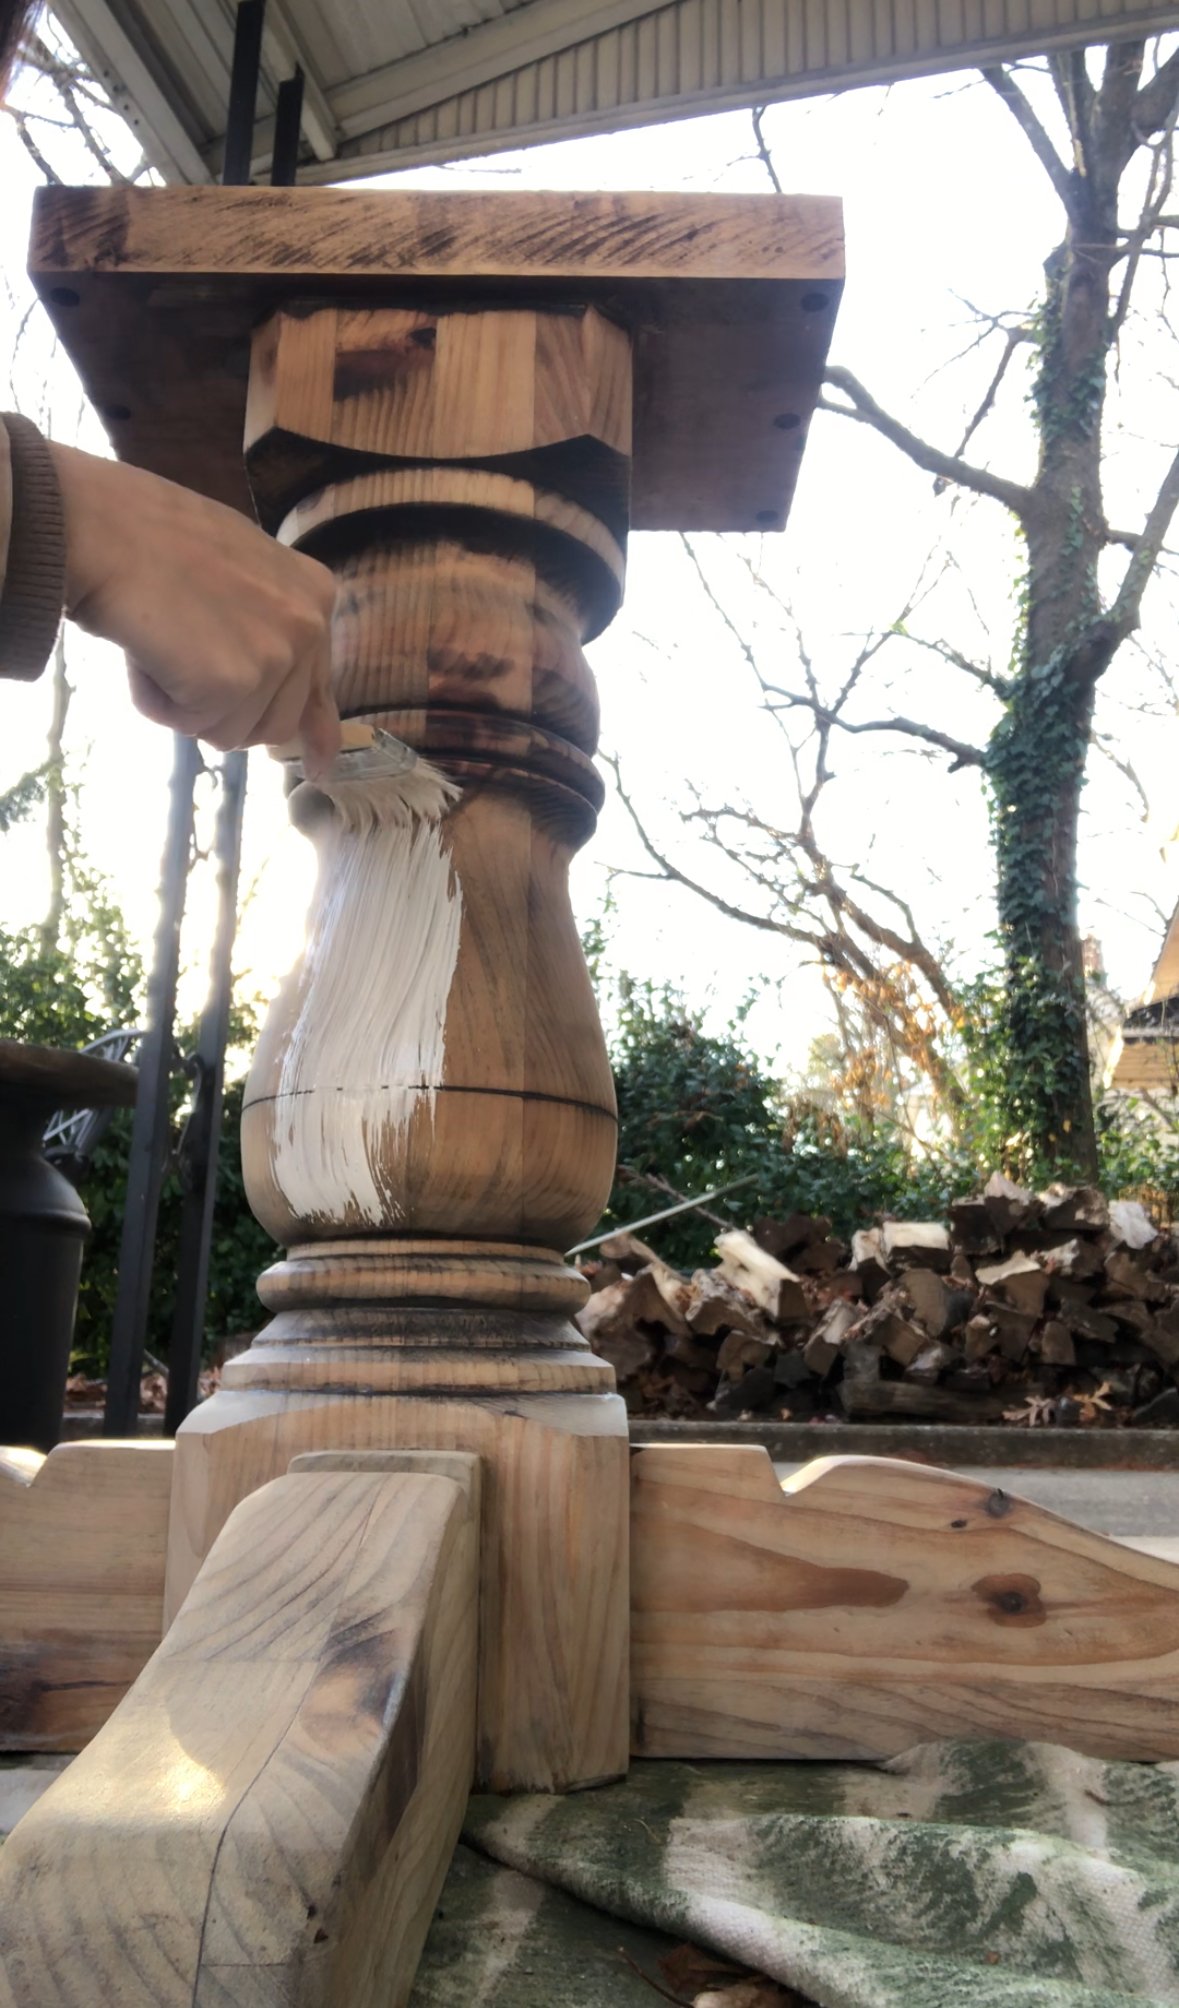
Next, I wanted to do a light white-wash. White washing takes any yellow tones out out of the wood. The process is like staining however for white wash, you go against the grain, for stain you go with the grain.
Whitewashing can be done by simply taking white paint, watering it down and then using it like stain by brushing it on and wiping it off. For this project, I used Minewax Color Wash White Wash. .
After the table dries completely, you will add the protective coat on top. I used the Polycrylic Matte Finish. I really wanted a matte raw wood look. But in hindsight, I have found this has not been durable enough for a dining room table. Polyurathane is better for highly used surfaces such as our table. Be sure to let it dry a full 24 hours between coats. And having a little gloss makes cleaning much easier. Some may suggest using wax to protect it, I chose not to do that because I like to clean with my homemade vinegar cleaner and vinegar cleaner is not recommended for wax surfaces.
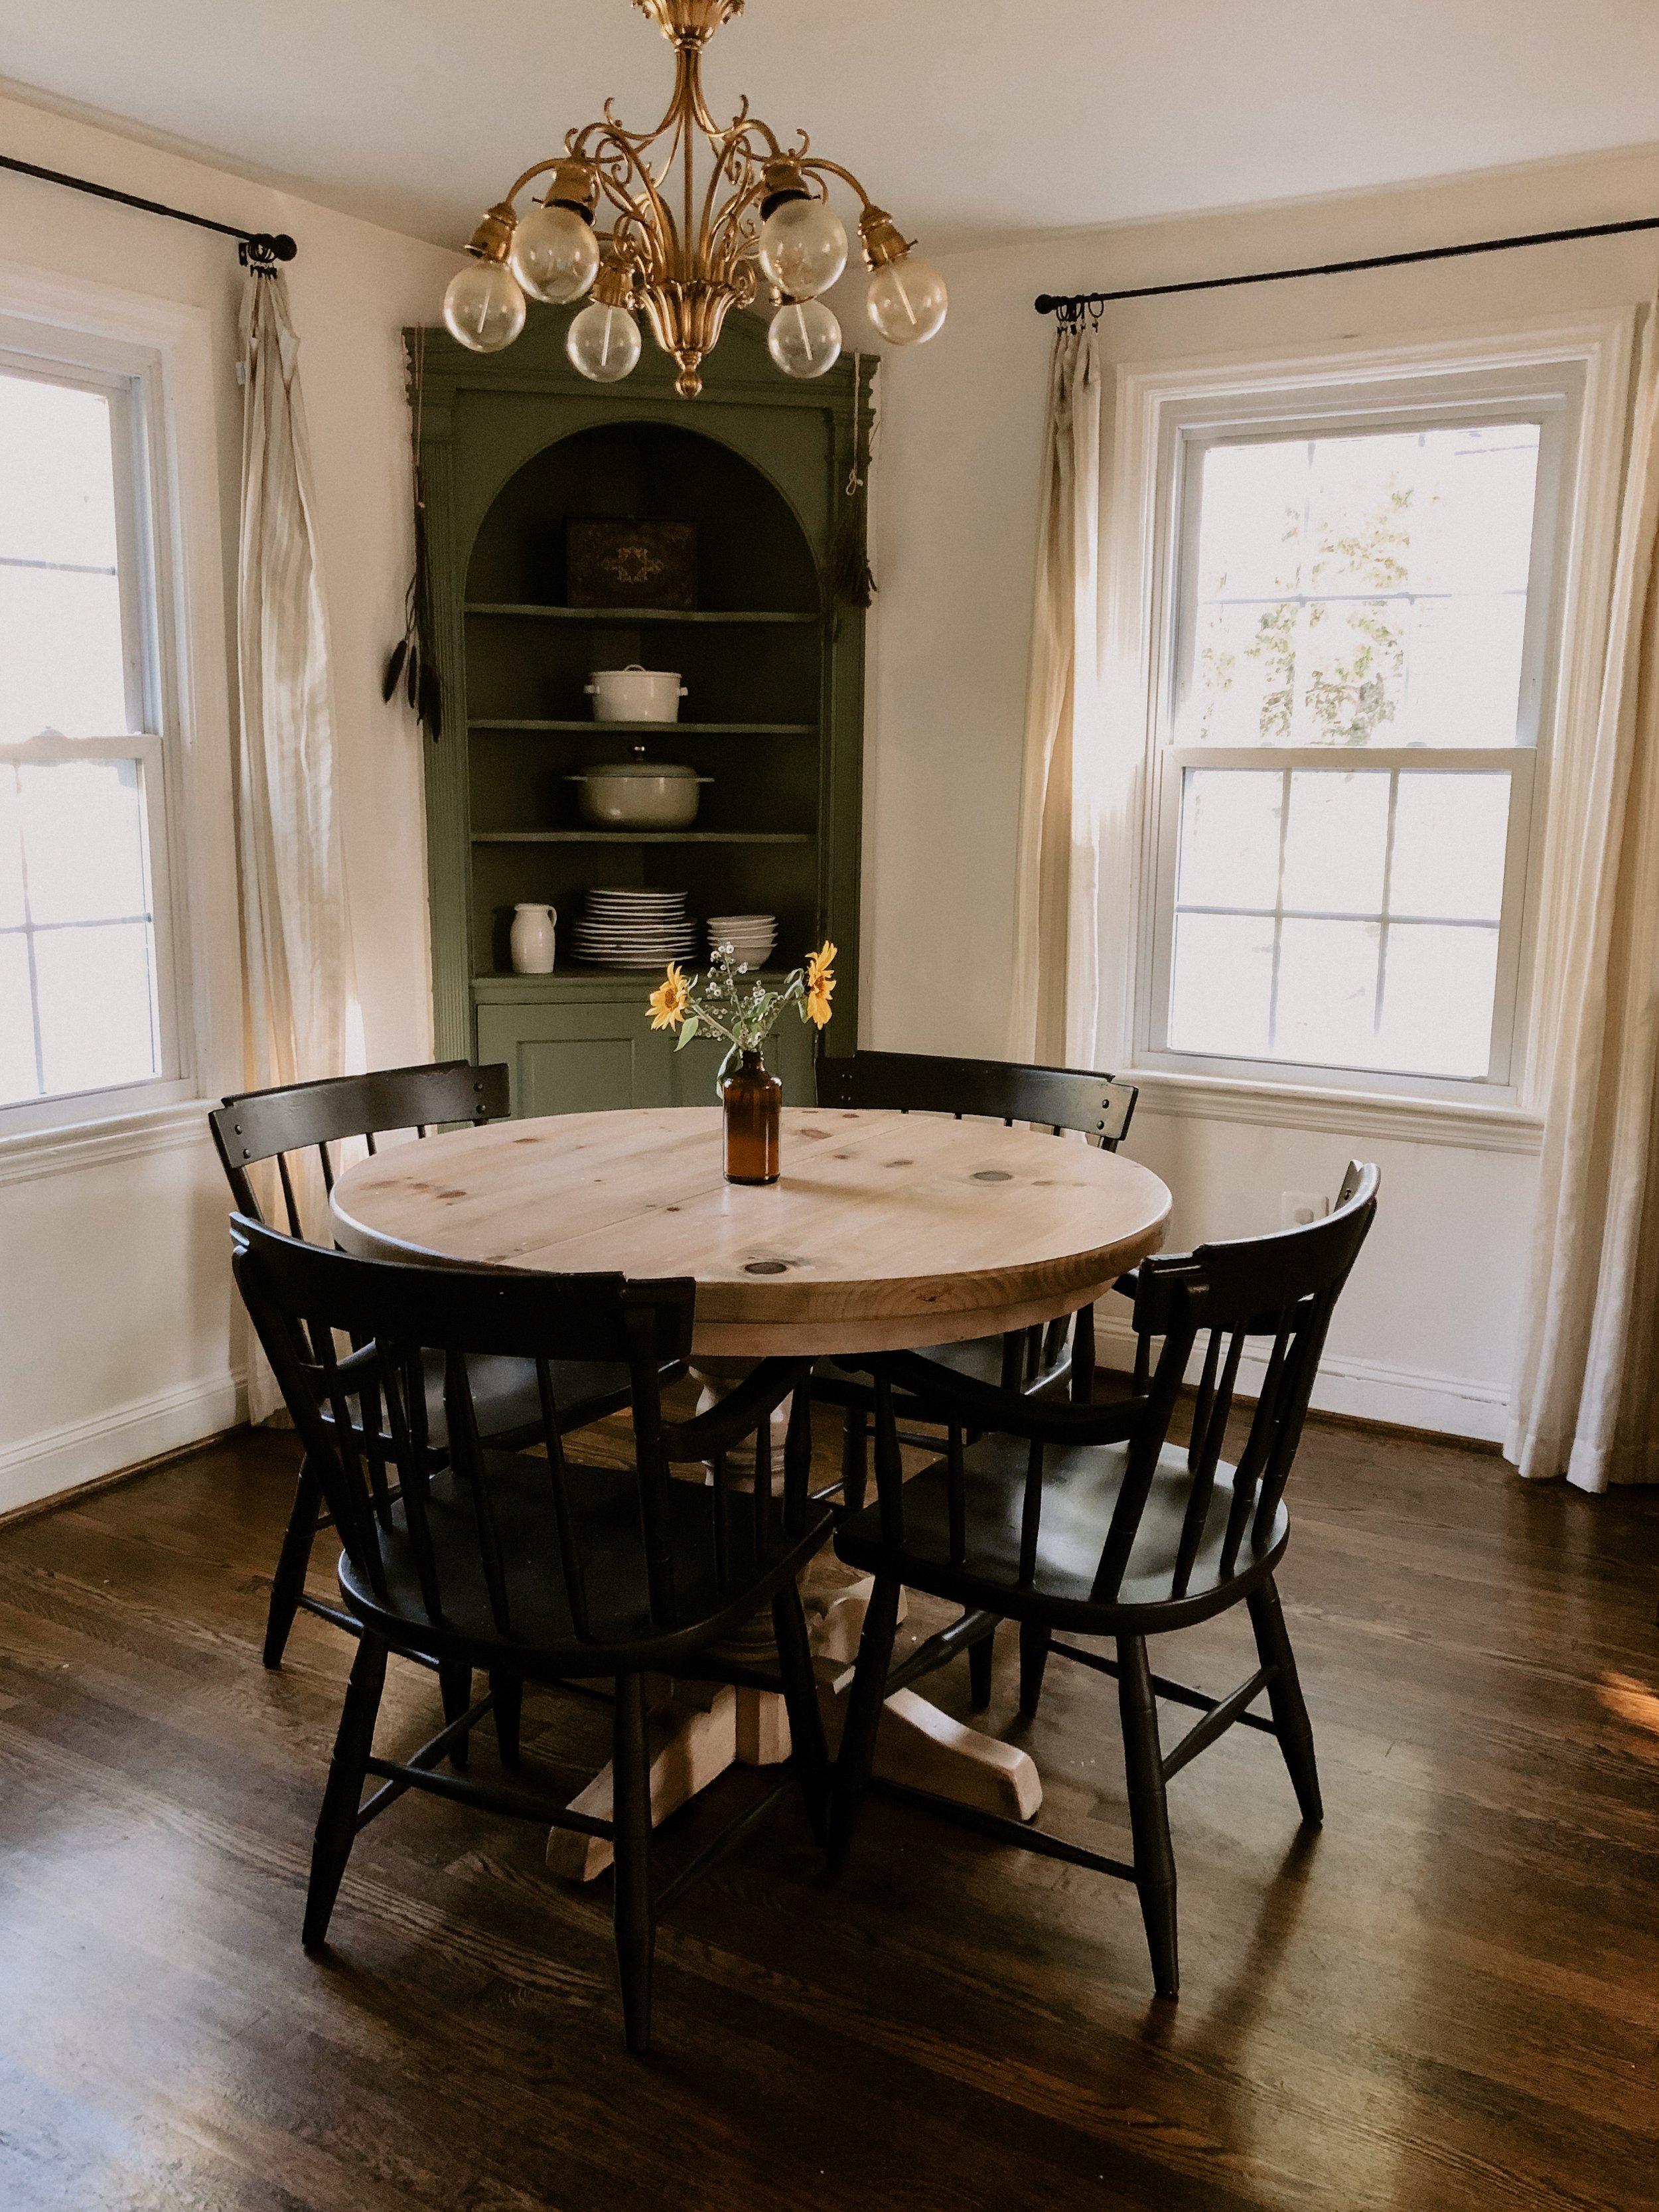
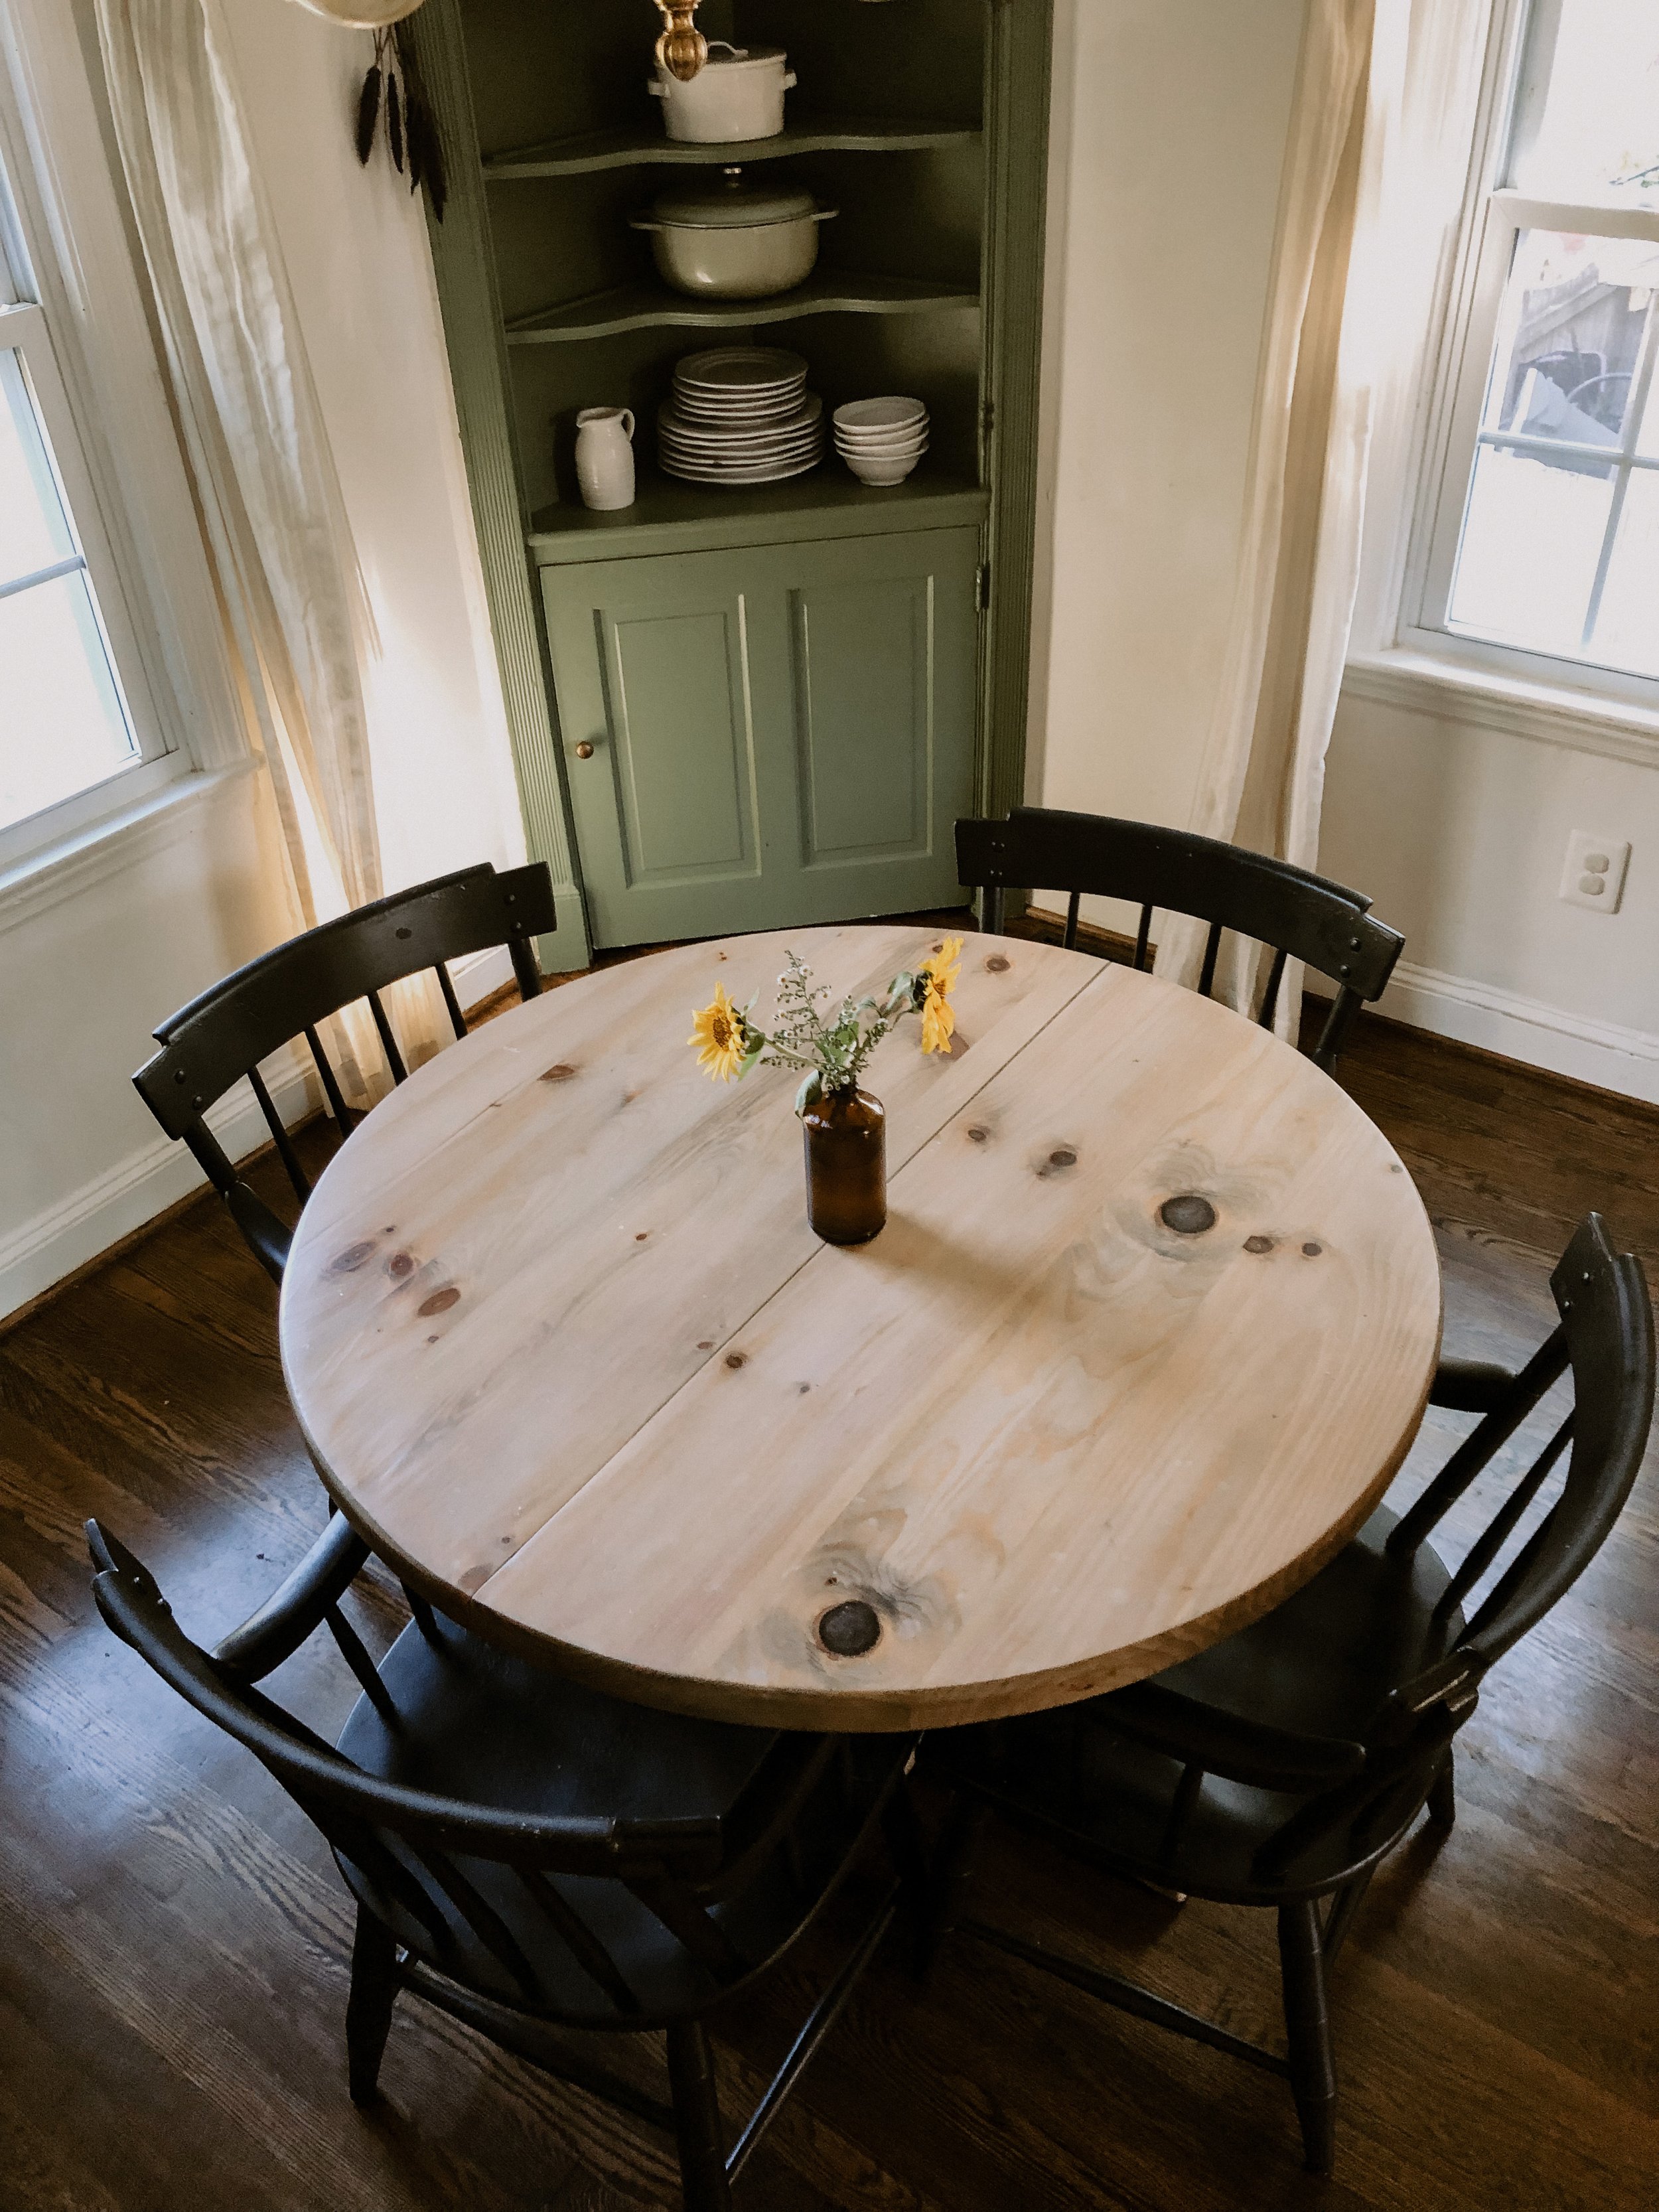
And finally, this is how the table turned out! I am obsessed with it!
Next up, I’ll show you how I painted these chairs!!
Leave a comment.
Save to Pinterest.
Share on Instagram.
Let me know what you think and leave any questions below!
