How to Make a Mud Kitchen
In this blog post, I am going to show you how to make a mud kitchen using one wood pallet and scrap wood. This project cost me $0.00! No additional materials, no paint or stain, I just used free scraps.
If you follow me on Instagram, you know I have a knack for finding free things. Someone in my neighborhood was giving away a wood pallet, and I jumped on the opportunity! The pallet was in good condition which was helpful. If you are searching for one, many places give them away for free but many of them are rotting with old wood. Once you find your pallet, the rest isn’t too hard, though you will need to use some power tools which some might find intimidating.
What is a mud kitchen?
Before I show you how, let me explain the glory of a mud kitchen. Have you ever heard of a mud kitchen? I hadn’t until we went over to a friends house and my daughter was playing outside in their mud kitchen. It is a outdoor play kitchen. Different from an indoor play kitchen, there is much more freedom for the kids to play and be creative. I stood in awe watching my daughter come alive in a way I’ve never seen. She started making all kids of things using grass, flowers, water, mud, rocks, and pretty much anything she could find. She immediately entered into a imaginary world and I became a guest at my daughters very hospitable house. Who delighted to show me her expertise in making hot chocolate with mud and water and marshmallow flowers. Something beautiful happens when a child has freedom to be creative. And the mud kitchen is an invitation to do so!
The mud kitchen is great because play can be messy, making a mess is the whole point!! I didn’t instruct her, stop her, or set a bunch of rules (besides not to eat anything). She can play freely.
Alternative Design
I should mention, on this blog post I am showing you how I made our mud kitchen but if you don’t have these materials, all you really need are two stumps of wood or upside down planters with a wooden board laying across them like a table top. This is what we had for many months before I completed this projects.
Ok, so, here is how I made our mud kitchen:
Supplies Needed:
A pallet of wood
Wooden board to make 4 - 20” legs
4 Elbow brackets
Screws
Screwdriver
A sawsall
A miter saw (you could do it without the miter saw if your legs are already cut).
Step 1: Cut Pallet in Two
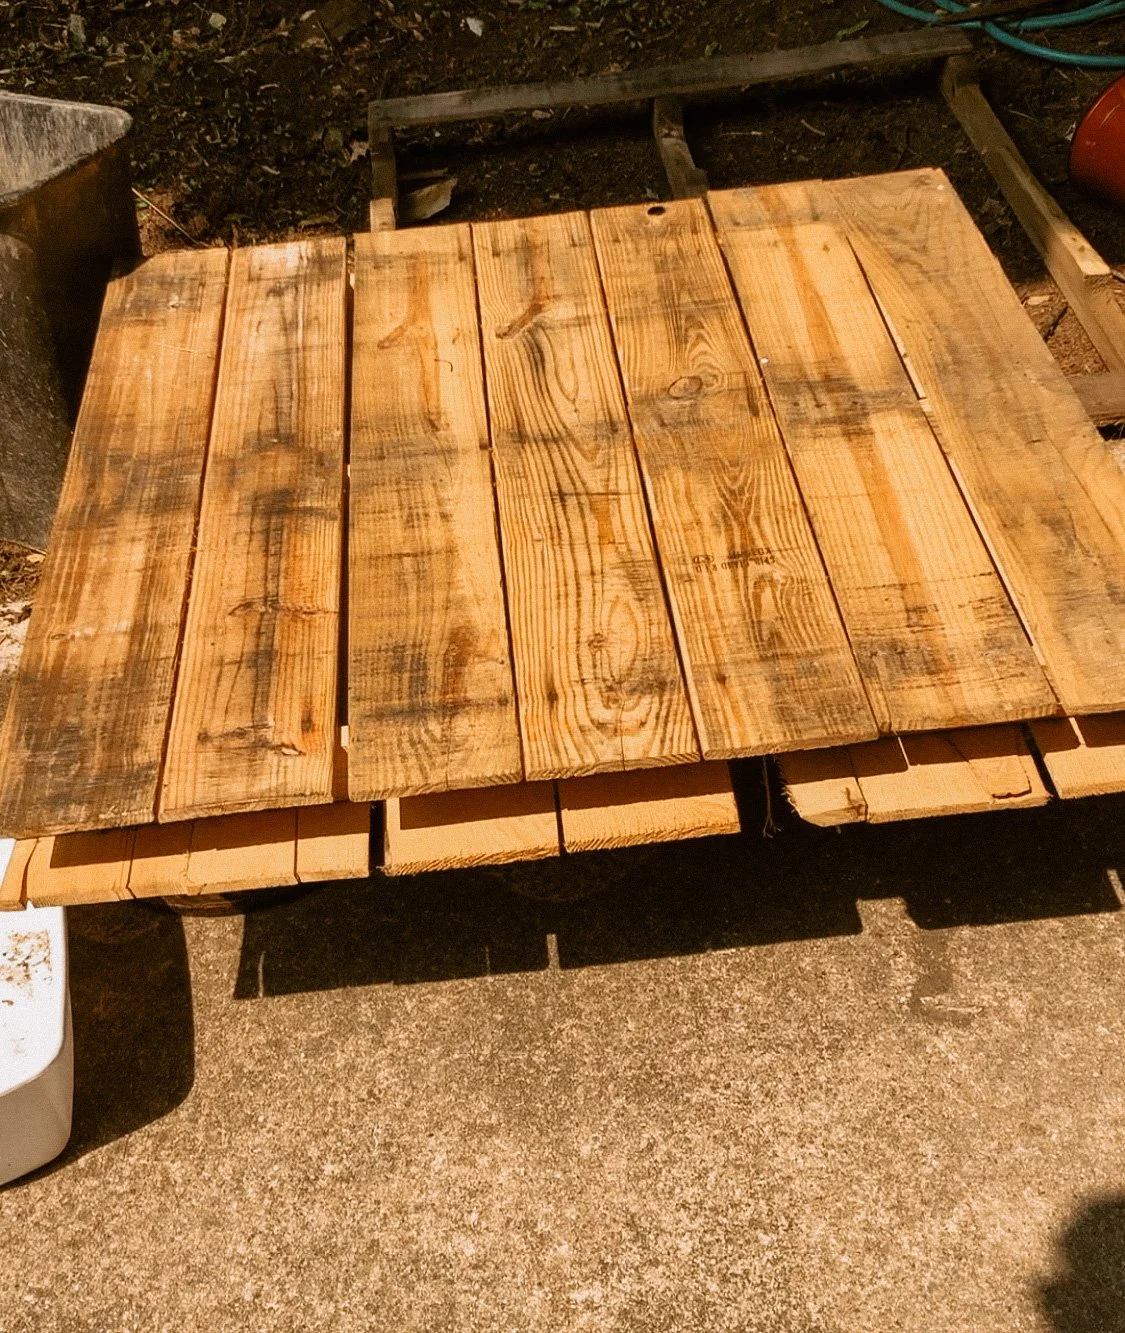
First thing I did was cut my pallet in half using a sawsall saw.
Notice (in the photo above) this pallet has two sides of wood panels? That was an important feature for my mud kitchen design. These two sides are joined by a 2x4 piece of wood. That is what I sawed through. I was able to stick the blade in the space between the wooden boards without having to take any of the boards off.
Step Two: Cut the legs and attach them to the pallet.
I cut the legs to be 20” high because I found this to be a comfortable height for my kids but you can make them shorter or taller if you’d like.
I attached them to the 2x4 piece of wood that was holding my pallet together. I did remove two boards on the underside of the pallet to do this. Save those boards because you can use them at the end to make a cute shelf!
Step 3: Rest the other portion of the pallet on the now tabletop portion and secure it with brackets.
Here you can see I removed another two boards from the pallet so I could make some hook storage. You can leave these boards on if you like the look better! This is when I attached the elbow brackets for support. I had these on hand but you can buy a pack of them.
Step 4: Take one of the removed pallet boards and attach it to the top for a shelf.
Adding this last piece is the finishing touch!
Step 5: Add extras!
I had some hooks lying around and decided to add some of them here. I took a small piece of wood to make a bar for hanging hooks and I screwed in small hooks on the top. You will also see in the finished product (scroll down) a little stove top grate. I repurposed this from an old playhouse that was falling apart.
Also-take a peek!! See in this photo how the wooden boards create a fun “oven” for my daughters cupcake pan? This feature was a big hit!
I was able to repurpose old kitchen items and a glass water jug for this kitchen as well. I did not buy anything new. Speaking of the water jug, we have a lid for it because without it, we found it was a favorite home for mosquitos. Speaking of mosquitos, if they are a problem in your area, dump any water out once play is done for the day.
Tell me what you think in the comments!


